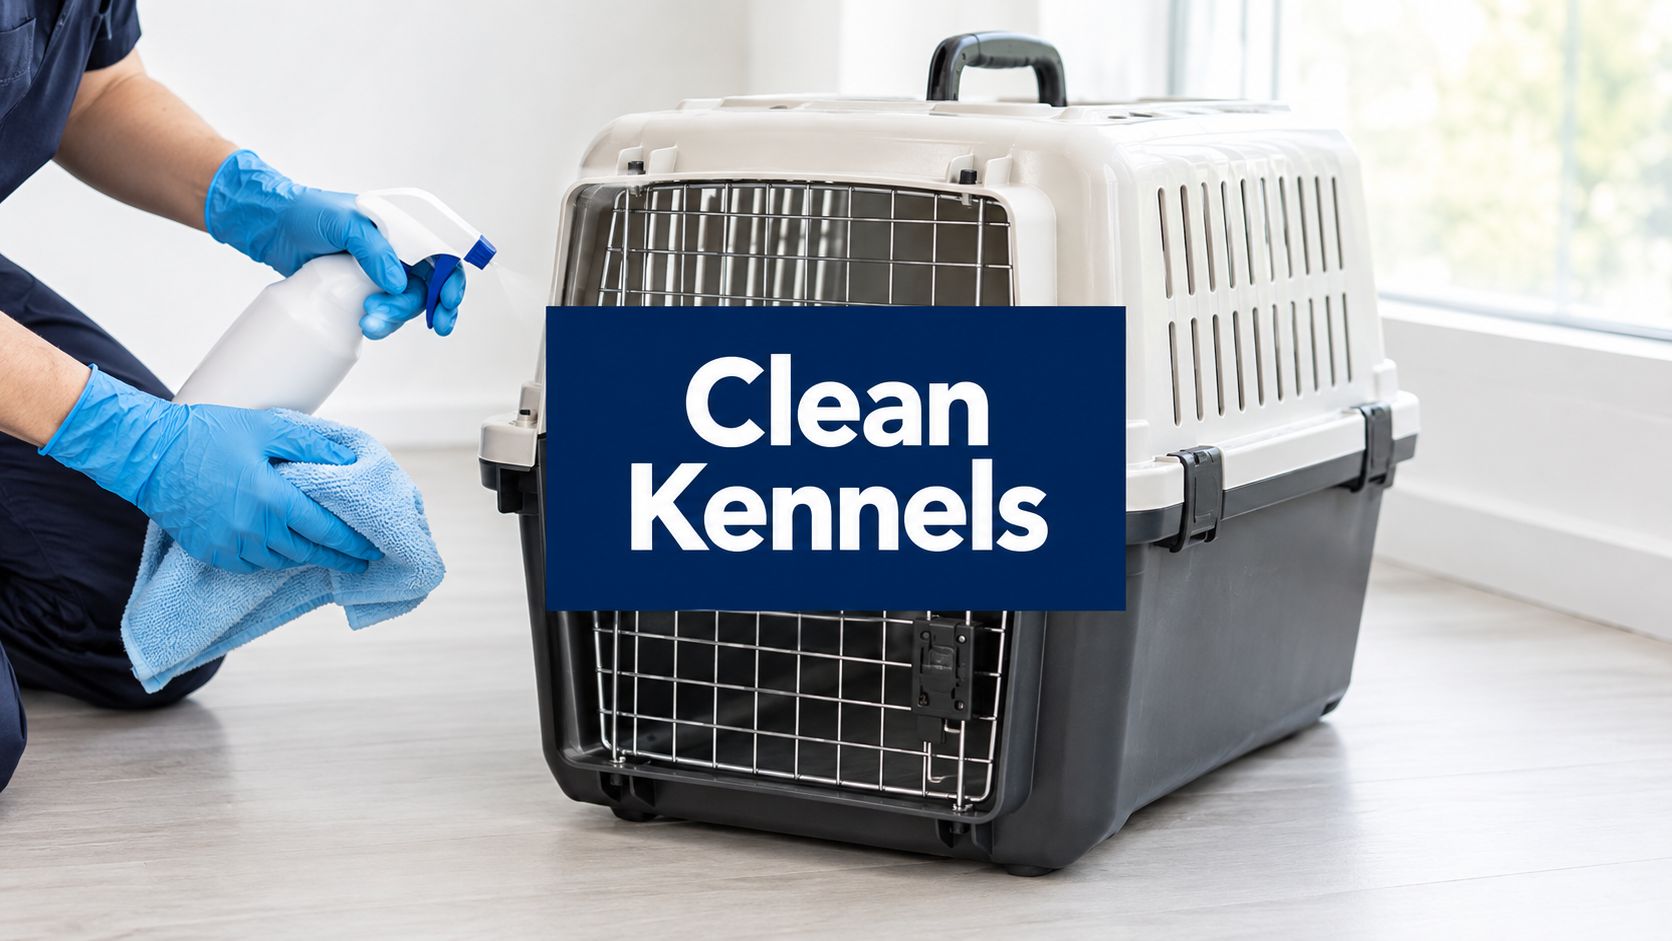
Your driver has arrived, the next animal is waiting, and the travel kennel looks clean enough after a quick wipe. That's exactly when sanitation errors happen. A crate can be free of visible hair and still carry residue from saliva, feces, vomit, urine, or a previous animal.
How to clean kennels safely for pet transport depends on more than removing dirt. You need a repeatable reset that separates debris removal from disinfection, respects the product's wet contact time, and leaves the kennel fully dry before another animal enters. That standard matters even more when a kennel moves between vehicles, airports, boarding spaces, and homes.
Table of Contents
- The Hidden Risks of Transit Cross-Contamination
- Clearing Organic Debris Before Chemical Application
- Mastering Disinfectant Dilutions and Contact Times
- The Critical Role of Rinsing and Complete Drying
- Managing Biosecurity During Travel Handoffs
- Choosing Between Spot Cleaning and Deep Sanitation
The Hidden Risks of Transit Cross-Contamination
A dog soils a kennel during a long transfer, and the next handoff is already scheduled. The animal is moved out, the crate enters a holding area, paperwork changes hands, and another pet is prepared for the next leg. A quick spray may improve the appearance, while residue remains on the latch, door edge, divider, or towel.
The risk comes from the handoff chain. Leashes, blankets, scoops, gloves, and vehicle floors can carry contamination from one kennel to another. A damp item handled during cleanup can spread organisms even when no visible mess remains. Gastrointestinal pathogens and dermatophytes are particular welfare concerns when animals pass through vehicles, boarding spaces, and homes.
Shelter-medicine guidance defines sanitation as reducing infectious organisms below the level associated with disease transmission, rather than just controlling odor or visible grime (sanitation guidance from the University of Wisconsin Shelter Medicine Program).
Practical rule: Treat every reused kennel as contaminated until it completes the full cleaning and disinfection sequence.
Use a deliberate clean-to-dirty workflow. The approach described in cross contamination prevention for healthcare applies directly inside a transport van: gloves touch the crate latch, then a door handle, then the next kennel unless the sequence is broken deliberately. Set dirty materials aside, change gloves when required, and keep clean bedding away from waste and used equipment.
Pet owners and drivers should also review USDA pet travel requirements. Documentation, timing, and sanitation must fit the same handoff plan, especially when a kennel has to be reset between animals under travel-time pressure.
Clearing Organic Debris Before Chemical Application
A kennel can look acceptable after a rushed trip and still carry saliva, food, vomit, or fecal residue in seams and hardware. Spraying disinfectant over that material gives the product less access to the surface beneath it. Physical cleaning must come first, especially when one animal leaves and another is due to travel soon.

Empty the kennel completely
Move the animal to a secure, separate location before using water, detergent, a hose, or disinfectant. Remove bowls, toys, bedding, mats, trays, and dividers. Place clean items in a marked clean area, away from the vehicle floor, waste, and used equipment.
The ASPCA dog-enclosure cleaning guidance recommends removing the animal and loose items, clearing visible feces, vomit, and food, then applying detergent or degreaser before rinsing and disinfecting. Follow that order during a boarding or transport handoff. It prevents organic residue from diluting or interfering with the products used later.
Remove waste without spreading it
Put on gloves and lift solid waste with a scraper, scoop, or disposable material. Start in the cleanest area and work toward the dirtiest. Keep the waste container nearby so contaminated tools do not cross the van or holding space. Contain waste promptly, then change gloves or clean them under your established procedure before handling clean supplies.
After loose debris is gone, apply detergent or a suitable degreaser. Scrub corners, seams, door tracks, latches, ventilation grilles, and the underside of the floor tray. These sheltered points retain residue after a quick spray. Rinse until detergent and loosened material are removed, then inspect the kennel under good light before chemical application.
For trip preparation, Spot Pet Insurance offers customizable accident and illness coverage for dogs and cats, with flexible reimbursement options, multi-pet discounts, and access to any licensed veterinarian. Coverage supports travel planning, while sanitation still depends on the driver completing each cleaning step.
The chemical step can only be as reliable as the physical cleaning that comes before it.
Mastering Disinfectant Dilutions and Contact Times
A kennel can look clean and still carry infection risk during a handoff. Once visible soil has been removed, select a disinfectant for the target pathogen and follow that product's label. Dilution and wet contact time must match the product and intended use, and the surface must remain visibly wet for the full required period.
Shelter guidance lists accelerated hydrogen peroxide or similar products at 1:16 to 1:32 dilution with 5- to 10-minute contact times for parvocidal efficacy (cleaning and disinfecting guidance for animal enclosures). Do not transfer those ratios to another formulation. Check the label for the organism claim, mixing method, ventilation, rinsing requirements, and re-entry conditions before applying the solution.
Match the protocol to the situation
The examples below reflect shelter sanitation guidance. Use them as a reference for planning a reset between animals, not as a replacement for the current product label.
| Disinfectant type | Dilution ratio | Required wet contact time |
|---|---|---|
| Accelerated hydrogen peroxide for daily spot cleaning | 1:64 | 5 minutes |
| Accelerated hydrogen peroxide when a kennel is vacated between animals | 1:32 | 10 minutes |
| Accelerated hydrogen peroxide or similar product for parvocidal efficacy | 1:16 to 1:32 | 5 to 10 minutes |
| Sodium hypochlorite, where the product protocol supports the intended pathogen claim | 1:32 or 1:100 | 10 minutes |
| Enilconazole for dermatophyte contamination, where specified | 1:16 | 10 minutes |
| Potassium peroxymonosulfate, where specified | 2% | 10 minutes |
These product-specific examples come from shelter and veterinary sanitation references, including the cited enclosure guidance and research summarized in that resource. For a practical explanation of label-controlled wet time, consult this disinfectant contact time chart guide as a supplementary reference.
Keep the surface wet
Apply enough solution to form a continuous wet film. If the kennel dries before the required time, reapply and restart the timing. Cold conditions or contamination that remains after cleaning can require longer exposure, sometimes up to an hour or more, according to shelter sanitation guidance (University of Wisconsin sanitation and disinfectant properties).
Never mix disinfectants or increase concentration without label support. A stronger mixture can damage kennel surfaces and expose handlers or animals to unnecessary chemical risk. Measure each preparation, label it clearly, and keep the kennel out of service until the product's re-entry instructions are met. During a tight travel schedule, assign someone to track the start time so the next animal is not loaded prematurely.
The Critical Role of Rinsing and Complete Drying
After the disinfectant reaches its required contact time, the kennel still needs the correct finish. The working sequence is tidying, washing, disinfecting, and drying. Remove the animal before using chemicals or hoses, then follow the product label for any required rinse.
Rinse areas an animal could lick, rub, or press against. Residue may irritate skin, eyes, airways, or paws inside a confined crate. Use clean water and keep runoff away from bedding, food, paperwork, and the vehicle interior. A practical sanitation overview, including the four-step sequence, is available from the ASPCA Pro sanitation resource.
Dry the kennel as a biosecurity step
Treat residual moisture as a contamination risk and dry every surface before re-entry. Closed crates and vehicle compartments can retain moisture, particularly during a rushed boarding handoff.
Use a squeegee for standing water, then wipe seams, corners, door tracks, and the floor tray with clean, dedicated cloths. Open doors and panels to improve airflow. Do not return bedding or an animal while any surface is visibly wet or damp to the touch.

Set a dry-time plan before the next vehicle or airport handoff. If the transfer is imminent, use a second clean kennel instead of loading an animal into one that has not dried. That choice protects the animal and gives the first unit time to air out. Review preparing a pet for travel so bedding, feeding items, and kennel readiness are coordinated.
Before loading, run a clean hand over the floor tray, corners, and door tracks. Any coolness, dampness, or residue means the kennel stays out of service.
Managing Biosecurity During Travel Handoffs
A kennel can be clean at departure and contaminated again before boarding. During each handoff, control the crate, surrounding surfaces, equipment, and people handling the animal. A sanitized kennel placed on a dirty vehicle floor, bench, or loading surface can pick up contamination immediately.

Separate clean and dirty equipment
Keep kennel brushes, scoops, buckets, towels, and squeegees separate from food preparation areas and animal resting spaces. After contaminated work, clean and disinfect reusable tools according to their material and the product label. Replace disposable gloves before handling clean bedding, bowls, or a sanitized crate.
Use a defined vehicle workflow:
- Dirty zone: Hold the used kennel, waste, and contaminated accessories here until cleaning starts.
- Wash zone: Remove organic debris and scrub with detergent while protecting clean supplies.
- Disinfection zone: Apply the product at the stated dilution and keep every required surface wet for its contact time.
- Dry zone: Leave the kennel open and away from used equipment.
- Clean zone: Return only dry bedding, bowls, and toys.
Apply the same separation during airport and boarding transfers. Tell the receiving handler whether the kennel has been cleaned, disinfected, rinsed, and dried. “It was wiped down” does not confirm that the required process is complete.
If the full reset cannot finish before the next animal arrives, use another kennel or delay loading. A short wait is safer than transferring an animal into a crate with uncompleted disinfection or residual contamination.
Control contact points
Handlers often touch door latches, carry handles, ramps, vehicle interiors, and paperwork after touching an animal. Keep hand-cleaning supplies available, change gloves between dirty and clean tasks, and keep sanitized bedding off shared benches. Place used linens in a separate bag so they cannot contact clean equipment.
Repeated domestic or international transfers create more opportunities for cross-contamination. The guidance on sanitation and disease prevention in animal shelters supports a defined cleaning sequence, controlled equipment, and complete drying rather than treating sanitation as a single spray event.
Choosing Between Spot Cleaning and Deep Sanitation
A kennel can look clean and still fail the handoff. Spot cleaning suits one animal during an uninterrupted trip when contamination is limited. It removes fresh debris and keeps the enclosure usable, while a change of occupant triggers a complete reset.
The dilutions and contact times described in the disinfectant section above apply here unchanged. The operational trigger is different: spot cleaning maintains a kennel, while a new animal requires the full sequence of clearing debris, washing, disinfecting, rinsing as directed, and drying. Confirm the current product label before mixing any solution.

Use these checks at each transfer:
- Same animal, minor fresh debris: Remove it promptly and follow the product's spot-cleaning directions.
- Different animal entering: Complete the full reset before loading.
- Illness exposure or heavy contamination: Isolate the kennel and obtain veterinary or shelter guidance.
- Reset not finished: Mark the kennel as unavailable, record what remains incomplete, and assign a clean replacement.
- Handoff underway: Tell the receiving handler whether cleaning, disinfection, rinsing, and drying are complete. “Wiped down” is not a sufficient status.
- International route: Check sanitation separately from the international pet travel kennel requirements. Both checks must pass before departure.
Precious Pets Transport Services, LLC provides domestic and international pet relocation with sanitized kennels, climate-controlled vehicles, and drivers trained in pet first aid. For help coordinating a kennel reset and handoff, visit Precious Pets Transport Services, LLC to request an estimate and discuss your pet's route.
Leave a Reply