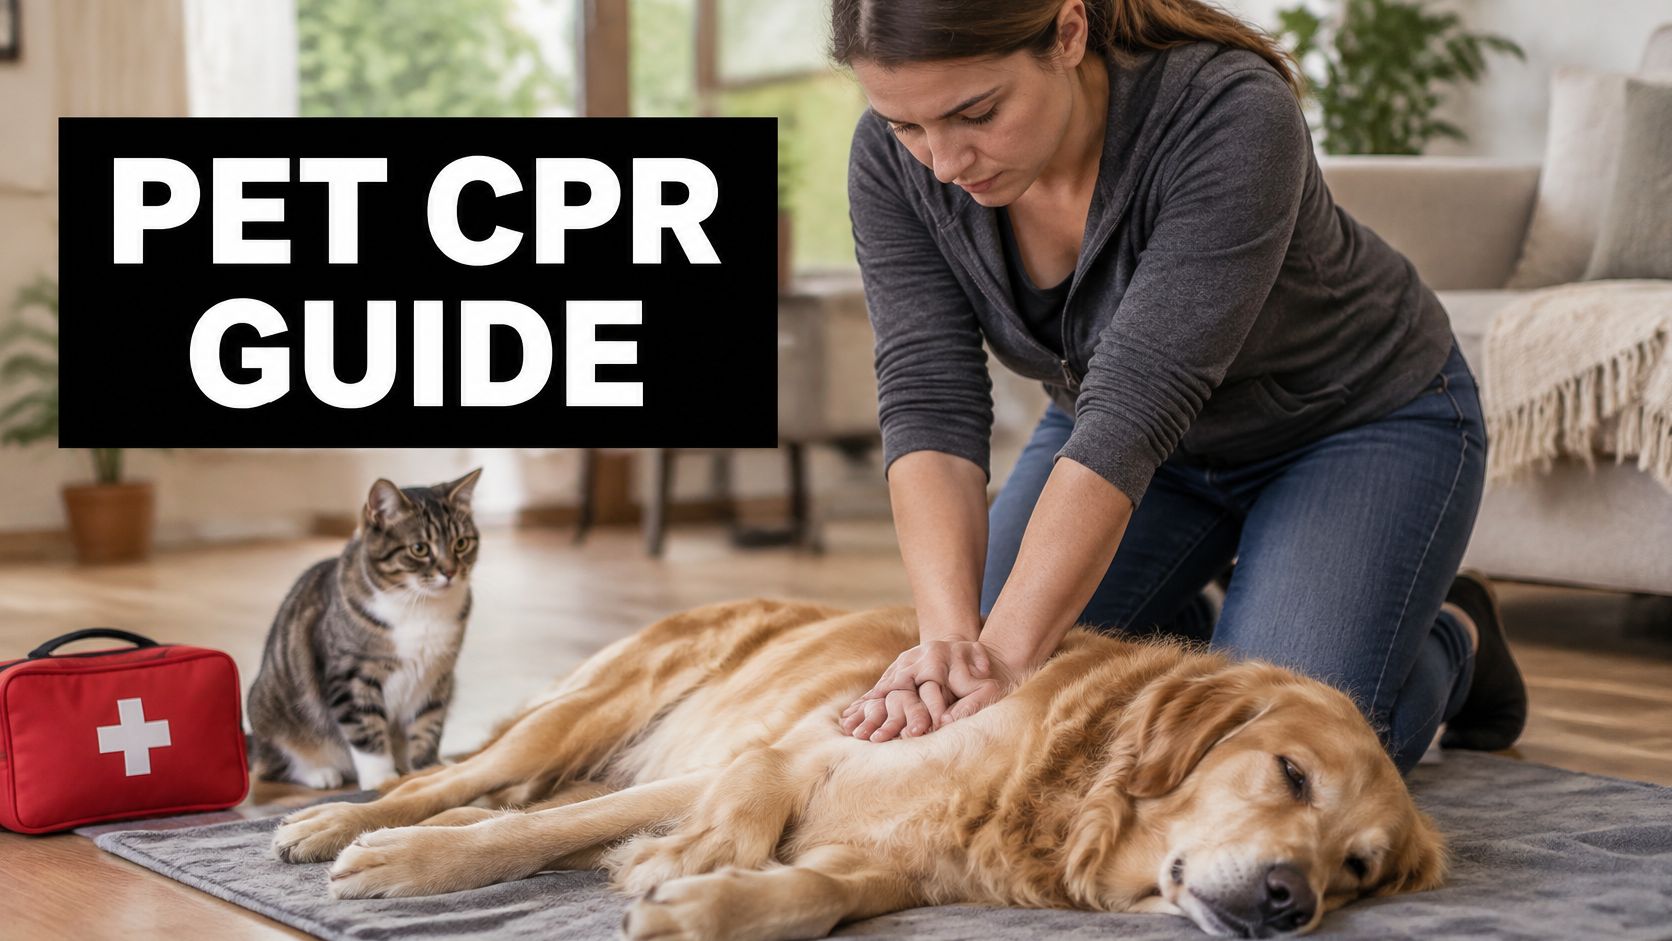
You're hours into a move, your dog is quiet in the back, and then you notice the chest isn't moving. That's the moment Pet First Aid CPR has to become a decision, not a search on your phone. You don't need perfect technique first. You need a fast go or no-go check, a safe place to work, and clear steps you can keep doing while someone else gets veterinary help moving toward you.
Table of Contents
- Tell Cardiac Arrest Apart From Other Pet Emergencies
- Protecting Yourself and Your Pet While Helping
- How to Perform Pet CPR Step by Step
- Adjusting Compressions for Body Shape and Size
- Clearing a Blocked Airway Without Making It Worse
- Building a Pet First-Aid Kit Worth Carrying
- Plan the Nearest Emergency Vet Before You Leave
Tell Cardiac Arrest Apart From Other Pet Emergencies
| What You See | Likely Situation | First Action |
|---|---|---|
| Unresponsive, not breathing, no normal movement | Cardiac arrest | Start CPR now and call an emergency vet |
| Unresponsive but breathing normally | Fainting, shock or post-seizure stupor | Keep airway clear, check breathing, go to vet; no compressions |
| Gasping, pawing at mouth, gagging | Airway obstruction | Choking relief, then CPR only if it stops breathing |
| Heavy panting, drooling, collapse after heat exposure | Heatstroke | Cool gradually with water, go to vet; CPR only if breathing stops |
| Paddling legs, unaware, jerking for minutes | Seizure | Protect from injury, time it, keep hands away from the mouth |
Do the Two-Part Check
Call your pet's name firmly and pinch a toe. Watch the chest for about 10 seconds for normal breathing. Don't hunt for a pulse, because that search delays compressions when they're needed.
Pale or blue gums can point to poor circulation or oxygen loss, but color alone doesn't confirm arrest. A panting, drooling dog collapsing after heat exposure fits heatstroke better, especially if you don't know what temperature is unsafe for dogs. Paddling and unawareness that eases within minutes fits a seizure, not a stopped heart.
Speed matters once you've made the call. The 2024 RECOVER first-aid guidelines on bystander CPR outcomes reviewed 23 studies and found bystander CPR generally improved survival by approximately two to three times compared with waiting, with median survival to discharge of 3.66% with bystander CPR versus 1.23% without it.
Decision rule: No response and no normal breathing means start CPR. Breathing but unresponsive means protect the airway and get to a vet.
Protecting Yourself and Your Pet While Helping
Pull fully off the road before you kneel. Switch on the hazard lights, keep yourself and your pet away from passing traffic, and stop completely before starting compressions. If the vehicle cannot be secured, move to a safer spot first.
Bites and Barriers
Pain and fear can make even a familiar pet bite without warning. Approach slowly, and use a soft muzzle or gauze loop only if your pet is breathing normally and is not vomiting. Remove it immediately if breathing becomes difficult or vomiting starts. Gloves can protect your hands during handling and wound care; wash your hands afterward. For rescue breaths, rescue breath barriers with TP Training can help you choose a barrier.
Moving, Cooling and Bleeding
After a fall or crash, suspected spinal injury calls for careful movement. Slide your pet onto a board or blanket, keeping the neck and back as straight as possible. For heat illness, apply room-temperature or cool water, not ice, and stop active cooling once breathing steadies to reduce the risk of chilling. For bleeding, press a dressing firmly onto the wound and maintain pressure.
Keep the vehicle stopped while you provide care. If a helper is available, have them call for veterinary help and manage the phone while you assist your pet. In a parked car, open the windows and run the air conditioning if the cabin is hot. Lay your pet on a towel over a firm surface so it supports your hands during treatment.
How to Perform Pet CPR Step by Step
Use this sequence only for an unresponsive animal that isn't breathing normally. If someone's with you, split the jobs immediately. One person compresses; the other calls, gives directions and times cycles.

- Make the spot safe. Pull your pet onto a firm, flat surface and lay most animals on their side. A soft seat absorbs force, so your compressions won't move blood as effectively.
- Call an emergency veterinary hospital. Put the phone on speaker or have a helper call while you start. Don't delay compressions to finish the conversation.
- Confirm no normal breathing, then start. Skip a prolonged pulse check. The 2024 RECOVER CPR guidance summary supports beginning basic life support immediately for an unconscious animal with no normal breathing and no detectable heartbeat.
- Place your hands correctly. Put them over the heart region or the widest part of the thorax, with your shoulders vertically above your hands and elbows locked. Bent elbows waste force and hands that drift reduce depth.
- Compress at 100 to 120 per minute. Push hard enough for the needed depth, then let the chest recoil fully. Don't lean between compressions, because the chest must refill before the next push.
- Give 2 breaths after 30 compressions. Deliver each breath over about 1 second, using only enough volume to see the chest rise. A tight-fitting mask and manual resuscitator are preferred to mouth-to-nose breaths when available, and overinflating is a common mistake.
- Continue cycles of 30 to 2. Work in roughly 2-minute cycles and rotate compressors about every 2 minutes to limit fatigue. Keep any pause to a few seconds, because perfusion drops quickly when you stop.
- Check briefly between cycles. Look and listen for breathing or movement for only a few seconds, then resume if there's no normal breathing. Long checks feel careful but they're one of the most damaging delays.
If Breathing Returns
Keep your pet on its side, keep the airway open, and watch closely for relapse. Stay on the call with the veterinary team and move toward emergency care as directed. Recovery at the roadside isn't stability.
Stop compressions when normal breathing returns, a veterinary team takes over, or you can't continue safely. If you must pause and your pet is still unresponsive, keep the call open and have a helper ready to resume. Correct hand placement, minimal pauses and controlled breaths matter more than force without rhythm.
Don't trade compressions for reassurance checks. A few seconds to reassess is enough, then your hands go back to work.
Adjusting Compressions for Body Shape and Size
| Patient Type | Position | Compression Target | Hand Placement |
|---|---|---|---|
| Medium to large deep-chested dog | Lateral (on side) | One-third to one-half of chest depth | Two hands over widest part of chest, elbows locked |
| Small or toy dog | Lateral (on side) | Shallow, controlled depth; check recoil | Hands around chest or one-handed thumb-to-finger |
| Wide-chested dog such as a Bulldog | Dorsal (on back) | About one-quarter of chest depth | Over the sternum, shoulders above hands |
| Flat-faced dog such as a Pug or French Bulldog | Lateral; airway and cooling first | Standard lateral target if CPR is needed | Standard hands; check airway before compressions |
| Cat | Lateral (on side) | Controlled depth confirmed with vet or course instructor | Thumb-to-finger or hands around chest |
One diagram doesn't fit a toy breed, a Bulldog and a cat. Merck Veterinary Manual first-aid and transport guidance reflects the same body-shape variation, with lateral compressions generally targeting roughly one-third to one-half of chest depth and dorsal positioning using about one-quarter.
Medium and Large Dogs
Use two hands over the widest part of the chest and drive from your shoulders. This is the standard picture most owners know, and it works best when the chest is deep enough for that hand position. Let recoil happen fully.
Small Dogs and Cats
Wrap your hands around the chest or use a one-handed thumb-to-finger technique. Two stacked hands can deliver uncontrolled force on a small ribcage. Depth should be controlled, visible and confirmed during training with your vet or instructor rather than guessed in a crisis.
Wide-Chested and Flat-Faced Dogs
A Bulldog's barrel chest may need compressions over the sternum while on its back, at the shallower dorsal target. A Pug or French Bulldog is different again. These dogs can deteriorate from airway or heat problems before the heart stops, so clear the mouth, assess the airway and cool first if breathing is present.
Take a French Bulldog overheating in a crate during a move. Your first jobs are airflow, cooling and an emergency call. You move to full CPR only if it becomes unresponsive and stops breathing normally.
Clearing a Blocked Airway Without Making It Worse
Remove only what you can see. A blind finger sweep can push an object deeper and turn a partial blockage into a complete one. Look in the mouth before reaching in, and stop if the object is out of sight.
Conscious and Choking
If your dog bites off part of a chew toy at a rest stop, paws at its mouth and gags, check the mouth first. Remove an object only if you can see it and grasp it safely without reaching down the throat. Recheck after each attempt.
If the object remains lodged, use gentle abdominal thrusts behind the ribcage, adjusted to the animal's size. For a small dog, lift the hind legs gently and give firm, controlled upward thrusts. For a cat held upright, use shorter, softer thrusts, checking the mouth between efforts.
Collapsed and Not Breathing
Start CPR. Before each set of breaths, look in the mouth and remove only an object that is visible and accessible. Give breaths gently. Avoid over-ventilating an animal that is still breathing on its own.
Do not spend time searching for something you cannot see or repeat the same maneuver without progress. Call the vet and arrange transport if the object does not clear quickly. If breathing stops, prioritize the emergency call and transport plan while continuing compressions.
See it before you touch it: A visible object can be removed. An invisible one should not be chased with your fingers.
Building a Pet First-Aid Kit Worth Carrying
Build for four jobs, bleeding, cooling, safe handling and handoff information. A kit stuffed with medicines you don't understand is less useful than dressings you can apply under pressure. It's also why what you pack in a pet travel bag should put emergency items where a driver or helper can reach them, not buried in the trunk.
| Item | Main Use | Practical Note |
|---|---|---|
| Non-stick sterile dressings | Wound cover and bleeding pressure | Carry at least 10 pads of mixed sizes |
| Self-adhesive bandage wrap | Holding dressings in place | Never wrap tightly around a limb |
| Digital thermometer | Checking body temperature in heat or shock | Normal dog temperature is about 38 to 39°C |
| Sterile saline solution | Flushing eyes and wounds | Not for CPR or nasal breathing |
| Blunt-tip scissors and tweezers | Cutting bandages, removing splinters | Blunt tips reduce injury risk |
| Pocket face mask with one-way valve | Rescue breaths | Practise on a training model if possible |
| Manual resuscitator | Equipment-based breaths | Only if trained; choose a size fitted to the pet's muzzle |
| Soft muzzle or gauze loop | Reducing bite risk during care | Fit a loop that can be pulled off quickly |
| Cold packs wrapped in towels | Cooling in heat emergencies | Never place ice directly on skin |
| Blanket or rigid board | Lifting and moving a possible spinal injury | Keep in the vehicle |
| Emergency contact card | Nearest 24-hour clinic and phone numbers | Update whenever your route changes |
Carry paper and phone copies of the medication list, vaccination records and clinic details. Batteries die at the worst time, and a handoff note lets a helper read facts to the hospital while your hands stay busy. Hydrogen peroxide to induce vomiting belongs in the plan only when a vet specifically instructs it.
Practise fitting the mask before a trip. Check expiry dates twice a year and replace used dressings immediately. A kit you haven't opened in training will slow you down when a real Pet First Aid CPR event starts.
Plan the Nearest Emergency Vet Before You Leave
If your pet collapses in the car, one person needs to call the emergency clinic while another prepares to help. For CPR, collapse, or breathing trouble, arrange veterinary care even if your pet seems recovered. Basic pet safety planning before a trip includes knowing where to go before an emergency starts. A vet should assess breathing, circulation, and neurologic status after an apparent recovery.
Go immediately for loss of consciousness, persistent breathing difficulty, a seizure lasting about five minutes or repeated seizures, heatstroke signs, uncontrolled bleeding, suspected poisoning, trauma, or choking that required intervention. Call the clinic as you prepare to leave so staff can be ready. Don't wait to see whether symptoms return.
The 2023 RECOVER CPR Registry of veterinary CPR events reports that 28% of dogs and 30% of cats regained a heartbeat across 709 events, while 3% of dogs and 2% of cats survived to discharge. These outcomes measure hospital results after CPR. During an emergency, focus on the steps you can control: start promptly, maintain the correct rate, and keep interruptions brief, as described in the RECOVER CPR update.
Before departure, identify emergency clinics along your route, save their phone numbers and hours, and write them on the kit card. Decide who will drive, who will monitor the pet, and who will continue compressions if needed. Spot Pet Insurance offers customizable accident and illness coverage for dogs and cats.
If using a relocation service, ask what first-aid training drivers have, how they would respond to a collapse en route, and which clinics they would contact. Clear answers help make the transport plan specific.
For climate-controlled, door-to-door ground transport across the United States, contact Precious Pets Transport Services, LLC about your route and your pet's needs. Share medical conditions, medications, and preferred emergency clinics before departure so the details are recorded.
Leave a Reply